Our other sites:

How do you set piston ring gaps with a feeler gauge?

How to set piston ring gaps
with a feeler gauge

Shop for Feeler Gauges


Checking the piston ring gap

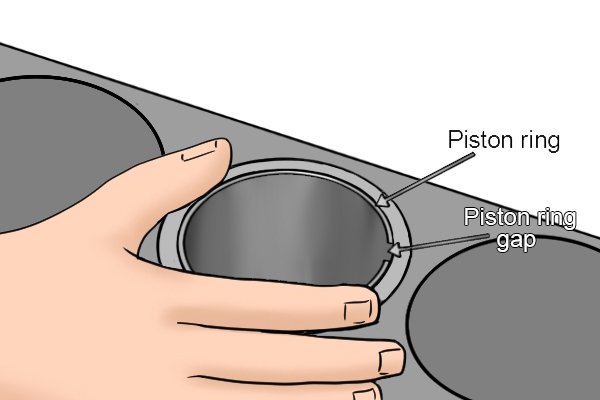
Step 1 – Place piston ring in cylinder

To check the piston ring gap, remove piston ring from piston and place it in the cylinder (bore hole).

Using the piston to push the piston ring squarely into the cylinder

Step 2 – Seat piston ring

Allow the piston ring to sit squarely.

Using the top of the piston, gently push the piston ring down into the cylinder.

Check the gap clearance of the piston ring with feeler gauges

Step 3 – Insert blade

Then, using the feeler gauge, gently ease a feeler gauge blade into the end gap and make a note of the value.

If the gap is within specification, the piston will fit properly in the cylinder and the rings will seal properly.

Use feeler gauge to check piston ring side clearance

Step 4 – Slide gauge between piston and ring gland

Slide the feeler gauge in between the piston and the ring gland.

This will tell you how much piston ring side clearance you have.

Ensure piston rings are inserted so that the gaps are set at 120 degree intervals

Step 5 – Offset piston rings

Offset piston rings by approximately 120 degrees to each other before the engine’s first start.

This reduces the amount of blow by gas produced, which would otherwise cause the engine to start poorly.

Wonkee Donkee Tools
Logo